Inforider Guide
Overview
Inforider Terminal is a desktop application for traders, market data analysts, and quants that allows you to monitor and analyze real-time financial market data, finance news, and fundamental information across multiple assets. It also functions as a direct information terminal for accessing dxFeed services without using an API.
Features
Visualization of market data
Built-in data analysis tools, such as graphs and notifications
Trading strategies testing with historical data
Access to the following services:
Fundamental, charting, and news data feeds
Real-time and delayed market data
dxPrice Options Analytics Solution
OnDemand market replay since 1/1/2010
Alerts and notifications
Note
Please remember that Inforider is just a diagnostic tool for several cases.
Installation
Install Oracle JRE 8.
Get a link to the Inforider installer from the dxFeed team.
Download and unzip the file.
Find the InfoRider-version-OperatingSystem. Choose the right file for your operating system: Linux.sh, macos.dmg, or windows.exe.
Install the application.
Configuration
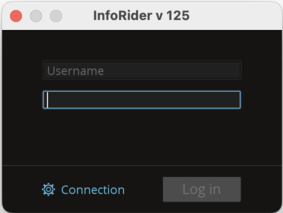
After it launches, a login window will appear. First, you need to enter the connection settings by clicking Connection.
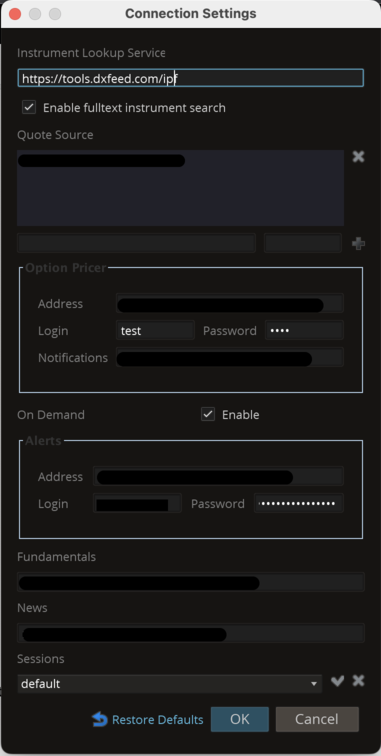
Type https://tools.dxfeed.com/ipf in the Instrument Lookup Service.
Enable full-text instrument search option. (The fulltext option enables auto-fill of relevant symbols while typing).
Enter your endpoint address in the Quote Source field and enable this new address. If you have multiple endpoints you can enter them here and switch between them later.
If you have any special data endpoint addresses for Options, Alerts, Fundamentals, or News feeds, specify them in the corresponding fields.
Save the connection settings and close the window.
Connection
Wait for the login window to appear.
Enter your username and password (same as for IPF service).
Click Log in to start.
Note
Only connections from whitelisted IPs will be accepted.
How to check the list of available symbols
Go to https://tools.dxfeed.com/ipf.
Enter your credentials.
The page will list every symbol available for Inforider.
How to connect with a proxy
Set up proxy settings in your system.
Set up proxy settings in vmoptions file:
Windows: InfoRider.vmoptions
MacOS: vmoptions.txt (a part of the InfoRider bundle located in the installation folder)
Add the following lines to this text file:
-Dhttps.proxyHost=someproxy.net
-Dhttps.proxyPort=3128
How to launch Inforider with pre-setup widgets
Place the widget file in the
C:\Users\%username%\.InfoRider\<long hash string>\users\xxx\layoutfolder (restart Inforider if the xxx folder isn't available).Restart Inforider to load the new layout.
How to add a new widget
Find the Create new workspace option in the created widgets list.
Open the available widgets list by pressing the Menu button in the upper left corner and then select the desired widget.
Add the desired symbol.